
Level 156
HARDHow to solve Sand Loop level 156? Get instant solution for Sand Loop 156 with our step by step solution & video walkthrough. Sand Loop 156 tips and guide.
Play Sand Loop Now
Experience the puzzle challenge firsthand
Game Screenshots
Sand Loop Level Guides
Sand Loop Level 156: The Grapefruit Slice - Strategic Walkthrough
Level Overview: The Logic Unblocking Challenge
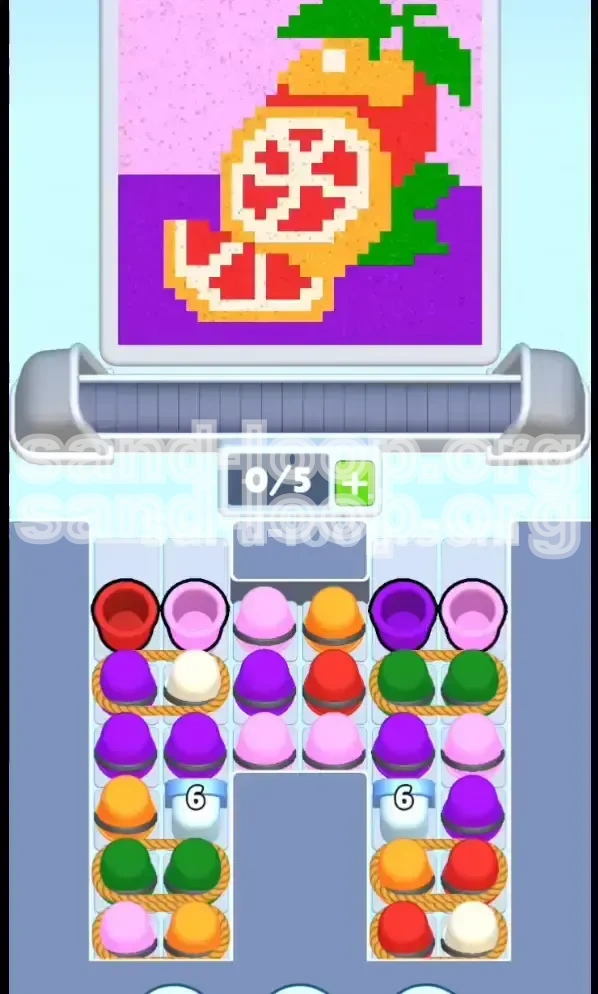
Welcome to Level 156 of Sand Loop. This stage presents a vibrant pixel art depiction of a sliced grapefruit (or blood orange) resting on a purple table. Unlike previous levels that might have relied on pure speed or simple color matching, Level 156 is a heavy logic puzzle that tests your ability to manage a restricted inventory system.
The Core Visuals
The canvas is divided into distinct color zones. You have the Red fruit flesh, the Orange outer rind, the White pith lines, Green leaves, and a large Purple table surface. The challenge isn't just painting these areas; it's doing so while your cup tray is effectively paralyzed by mechanics.
The Primary Obstacles
This level introduces a "dual-layered lock" mechanism. You are dealing with both Ropes (which bind cups together) and Ice Blocks (which require a specific number of pours to break). These two elements combined will reduce your usable conveyor belt slots by nearly 60% at the start.
The Victory Condition
To achieve 100% completion, you must shatter the Ice Blocks (6-counters) to access the bottom reserves of paint, and carefully untangle the ropes to prevent your 5-slot conveyor belt from jamming irreversibly.
Mission Objectives: What You Must Achieve
Clear the Top-Layer Ropes
Your immediate objective is to clear the initial rows of the tray. Since almost every cup is tied to a partner, you cannot simply pull the colors you want. You must move pairs strategically to free up space for the incoming flow of paint.
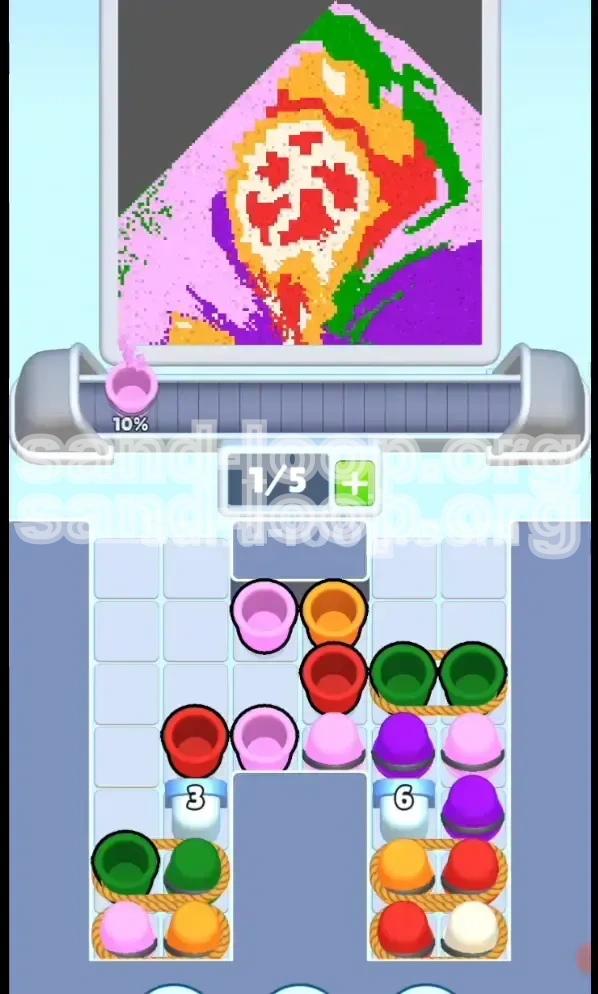
Shatter the Ice Block Barriers
Located deep in the left and right columns are Ice Blocks marked with the number '6'. These act as gatekeepers. You must successfully pour 6 cups of the matching color into the "meat" of the tray to break these. Failure to do so keeps the bottom half of the level locked.
Maintain Belt Fluidity
You only have 5 slots on your conveyor belt. With ropes taking up 2 slots per pull, you have very little margin for error. Your goal is to ensure that you never have a situation where you need to pull a cup but have no room for its partner.
Precise Color Layering
You must execute the painting in a specific order: Backgrounds first, then large fruit sections, and finally the details. Attempting to paint the White pith before the Red fruit is filled is a recipe for disaster, as the White cups are scarce and needed to unlock deeper rows.
Step-by-Step Instructions: The Opening Phase
Step 1: The Single-Cup Trigger
Before you touch any ropes, scan the top row very carefully. There is usually one single, un-tied cup—often a Red one. Tap this first. It is your only "free" move. Removing it creates a single slot of wiggle room and allows the cups above to slide down into a better position.
Step 2: Strategic Rope Selection
Now look at your rope pairs. You will likely see a Purple/Green pair and a Red/White pair. Do not tap the Red/White pair yet. White is a precious resource needed for the pith later. Instead, tap the Purple/Green pair. Why? Because the Purple table is a large background area that can accept paint at any time, and Green is often needed just to clear leaves.
Step 3: The Conveyor Balance
After pulling the Purple/Green pair, you now have 2 cups on your belt. You have room for 3 more. Look at the canvas. If the Purple table area is available, pour the Purple cup immediately to free up that slot. This keeps your belt fluid.
Step 4: Digging for the Ice Counter
Look at the columns above the Ice Blocks (usually Left and Right sides). You need to feed the counter. If the column above the Ice Block is clogged with colors you don't need (like extra Green or White), you must burn those colors on the canvas (even imperfectly) just to dig down to the color that breaks the ice.
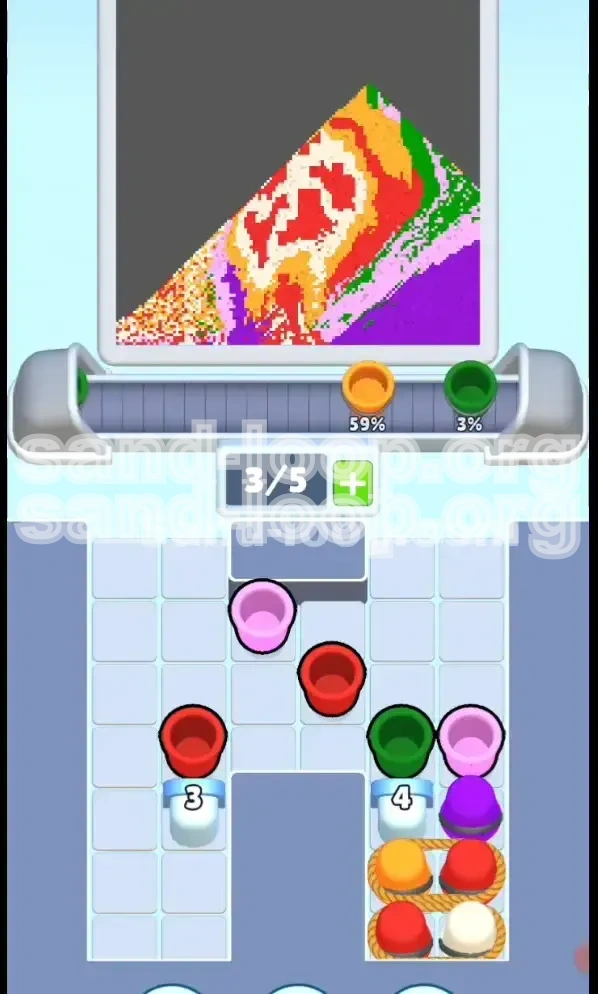
Step 5: Managing the Mid-Game Jam
Once you have cleared the first layer of ropes, the "Mid-Game Traffic Jam" begins. The cups that were buried underneath will slide down. This often reveals a mess of Orange and White cups tied together. You need to have 2 empty slots ready to receive them, or you will be stuck.
Color Order: The Logical Sequence
Priority 1: Purple (The Foundation)
The Purple table surface at the bottom is your safest bet. It is a large area, generally unobstructed. Pouring Purple here is low-risk. It clears your belt and helps cycle through the tray to find the problematic cups hidden underneath.
Priority 2: Red (The Fruit Flesh)
The Red flesh of the grapefruit is the centerpiece, but it is surrounded by tricky lines. You should pour Red as soon as you have a clear path to it. However, stop pouring just before you hit the pith lines. Over-pouring Red into the White pith areas makes the end-game extremely difficult.
Priority 3: Green (The Unblocker)
Green is often a "blocking" color in this level—it sits on top of colors you actually need. Pour Green on the leaves as quickly as possible to remove those cups from the tray and reveal the Ice Blocks or essential Red/Orange cups beneath.
Priority 4: Orange (The Rind)
Orange is usually abundant but trapped in the middle layers. Once the ropes are cleared, Orange becomes your main filler. Use it to outline the Red flesh before you fill it completely.
Priority 5: White (The Pith)
Save White for last. White cups are frequently tied to other critical cups or buried deep. Furthermore, the White pith lines are thin. If you pour White too early, you might accidentally paint over a pixel that needs to be Red, and you won't have enough White left to fix the background errors later.
Key Tips for Success
The "Pair-Tap" Rule
Always calculate space for two. If you have 3 empty slots, you can safely tap one rope pair (2 slots). If you have 4 empty slots, you can tap one rope pair and pour one cup. Never tap a rope pair if you only have 1 slot open; you will soft-lock your game.
Ice Counter Monitoring
Keep a mental (or physical) count of your Ice Block pours. The counter requires 6 matching pours. If you pour a color and the counter doesn't drop, that color was not "feeding" the block. Stop pouring that color immediately and look for the correct one in the adjacent column.
Belt Hygiene
Keep your belt clean. If a cup is on the belt and the corresponding canvas area is full, you must discard that cup into the "burner" (an already full area) just to get it off the belt. A clogged belt is the number one cause of failure in Level 156.
The Reset Strategy
If you realize you have painted yourself into a corner (e.g., you need Red but the only Red cup is trapped behind a rope, and you have no space for the rope partner), don't panic. Look for the smallest possible area on the canvas to pour off a cup—any cup—to create a single slot of movement.
Common Mistakes to Avoid
Mistake 1: Ignoring the Rope Connections
Many players tap a cup without realizing it is tied to another one. Suddenly, a cup they didn't want appears on the belt, taking up valuable space. Always trace the "rope line" before you tap to ensure you know exactly what is coming onto your conveyor.
Mistake 2: Painting the Details Too Early
Trying to paint the thin White pith lines or the specific leaf details while the tray is still full of ropes is a mistake. You waste precision cups on detailed areas when you should be using bulk colors (Purple/Red) to clear space.
Mistake 3: The "False" Ice Match
Just because a cup is above an Ice Block doesn't mean it breaks the Ice Block. The game requires specific color matches. Pouring a random color above an Ice Block just to get rid of the cup is fine, but don't expect the block to break unless the color aligns perfectly with the block's requirement.
Stuck? Troubleshooting Solutions
Solution: The Tray Is Full But No Matches
If your tray is a grid of unmovable ropes and you can't make a match, you need to "burn" a cup. Look at your conveyor belt. Is there a color there you can pour into a large, imperfect area? Pouring it "badly" is better than being stuck. Clear the belt slot, then pull a new rope pair.
Solution: Ice Block Won't Break
You have poured 6 times, but the block remains. This usually means you poured a color that looked right but wasn't (e.g., pouring Red when the block needed Dark Red). Check the pixel color of the block itself versus the cup you are using. Switch to a different cup in that column.
Solution: Out of Colors
If the tray looks empty but the level isn't finished, the remaining cups are likely behind the Ice Blocks or under a stack of ropes you haven't pulled yet. Aggressively clear the top rows to force everything down.
Speed Run Tips & Shortcuts
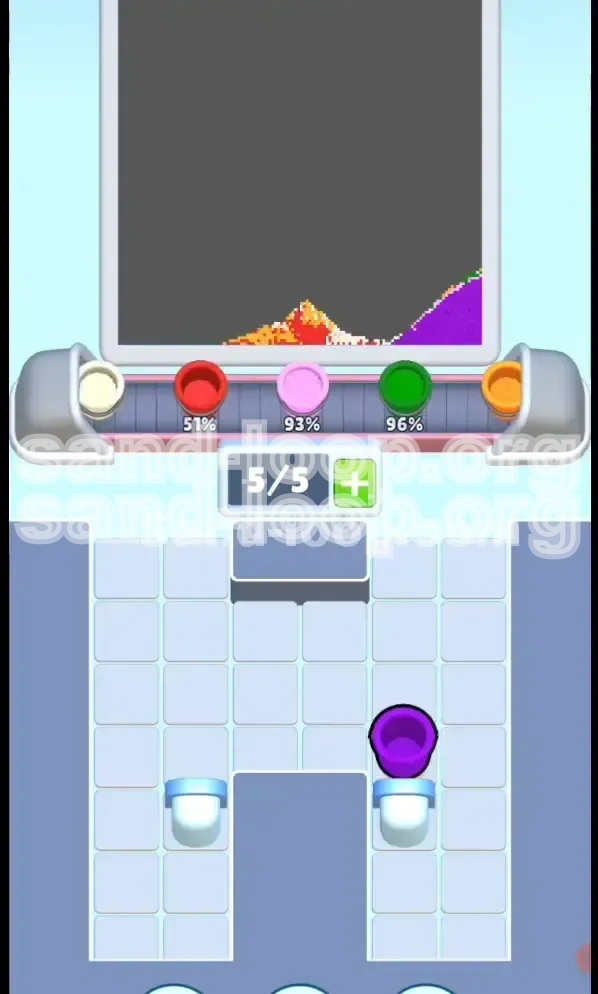
The Rapid-Fire Purple
Once the Ice Blocks break (usually around the 60-70% mark), the bottom of the tray will flood with Purple. At this point, you can stop strategizing and just tap-tap-tap. The large Purple table area can accept paint very quickly. This is your time to rack up percentage points.
Pre-Planning the Pour
While a cup is traveling down the conveyor belt, look at the canvas. Decide exactly where it is going before it arrives. Hovering your cursor over the target area can save you 1-2 seconds per pour. In a level this long, those seconds add up.
Ignore the 100% Perfection
During the first half of the level, don't aim for pixel-perfect edges. It is faster to paint slightly outside the lines and fix it later (if needed) than to wait for the perfect cup configuration. Focus on flow and clearing the tray obstructions first.